
Timer
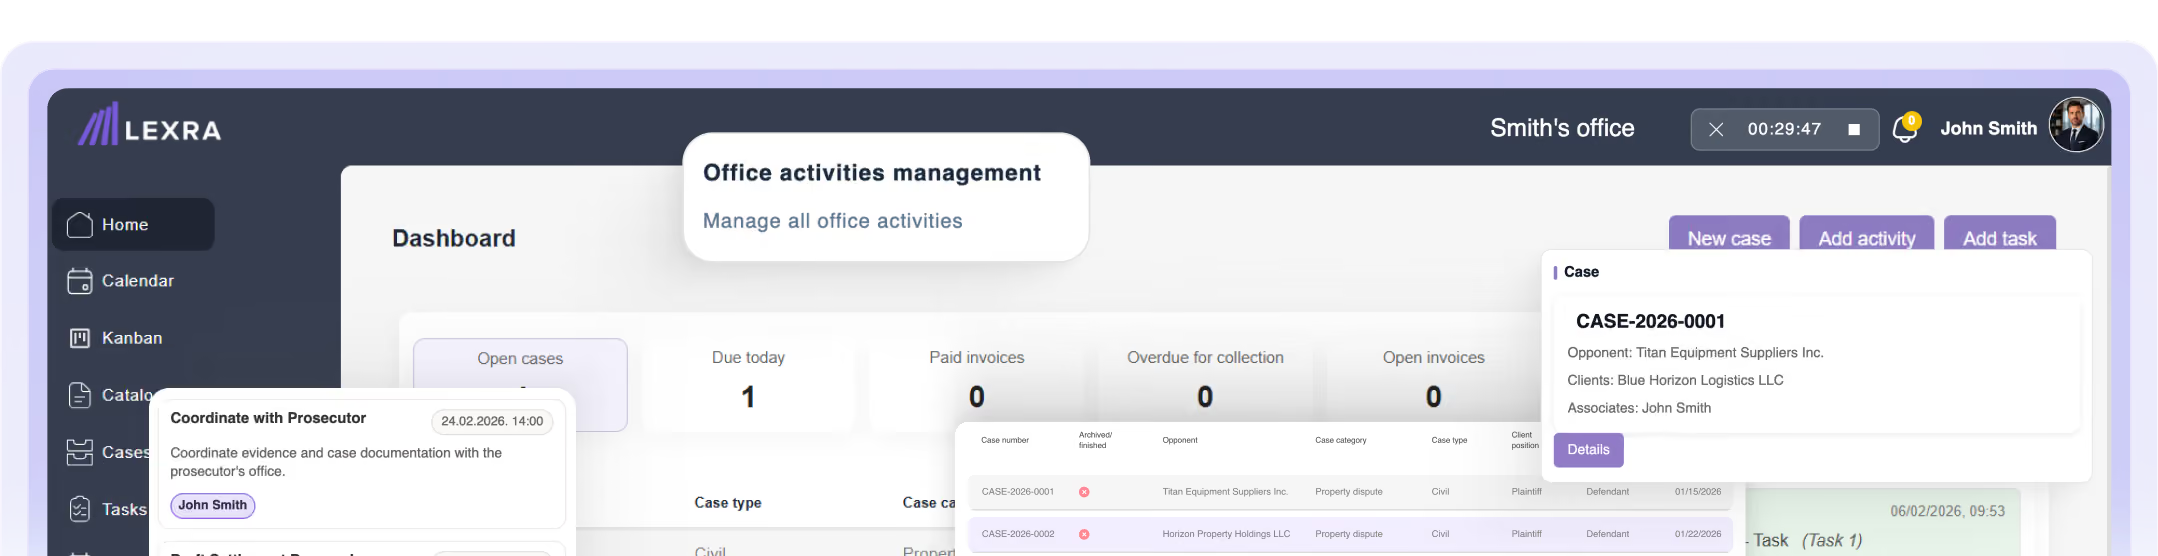
The timer records time spent on work automatically. It sits in the application header on every page, so you can start and stop it without leaving your current module. When you stop it, the activity form opens with the recorded duration already filled in.
[ Video guide — insert video or link ]
Start the timer
- In the application header, click the timer icon Play (▶).
The timer begins counting.
[ Screenshot — Start timer ]
Track working time
While the timer runs, use every module as normal — browse cases and documents, and create activities and tasks.
Stop the timer
- Click Stop (■).
The activity entry form opens automatically with the duration pre-filled.
[ Screenshot — Stop timer ]
Enter activity details
Basic details
- Activity name (required) — e.g. Client meeting, Telephone call, Preparation of submission, Court hearing attendance.
- Activity description (optional) — free text with additional notes.
- Start time (required) — date and time.
- End time (required) — date and time.
Financial details
- Activity price (optional) — the amount to be charged.
- Currency (optional) — select from the codebook.
- Payment method (optional) — select from the codebook.
Link the activity
- Case (optional) — the activity appears in the Activities tab of that case.
- Client (optional) — link the activity to a client.
- Collaborators (optional) — select users who participated.
[ Screenshot — Activity entry form ]
Save the activity
- Click Save.
The activity appears in the Activities module and, if linked to a case, in that case's Activities tab.
Tip: Use the timer for activities billed by time spent, to keep accurate records of the work performed.